On the outside, this recipe looks simple. Rice, salmon, sauce, torch, done. But if you’ve ever recreated a JOEY dish before, you already know they’re sneaky detailed. They don’t just use soy sauce, it’s a sweet soy situation. It’s not just mayo, it’s umami mayo. Everything has a little extra thought behind it.
I’ll be honest, this isn’t my cleanest recreation. I didn’t have the proper oshi sushi press, so I used a glass Tupperware container lined with plastic wrap. It was a bit messy, slightly chaotic, and I definitely had to fix it halfway through. But despite all that, every component really shined, and the flavour was so good that I’d absolutely make it again.
If you’re okay with a little imperfection, this one’s worth it.
-
- Screenshot
-
- Screenshot

-
- Screenshot

Why You’ll Love This Seared Salmon Sushi Recipe
This is one of those recipes that feels very restaurant-y but is still achievable at home. You get layers of sushi rice, salmon in the middle and on top, creamy umami mayo, sweet soy flavour, heat from serrano peppers, and that torched salmon finish that makes everything feel elevated.
Even though it looks delicate, it’s actually pretty forgiving. It doesn’t need to be perfect to taste amazing. And if you’re into bold flavours, texture, and a little drama from a kitchen torch, this one checks all the boxes.
-
- Screenshot

-

- Screenshot
-
- Screenshot

How To Serve This Seared Salmon Sushi Recipe
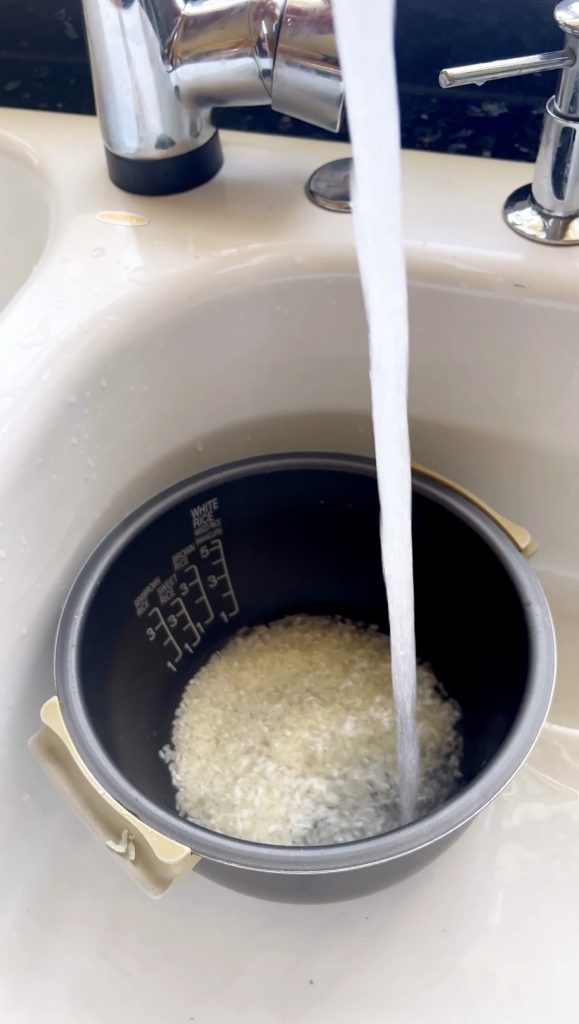
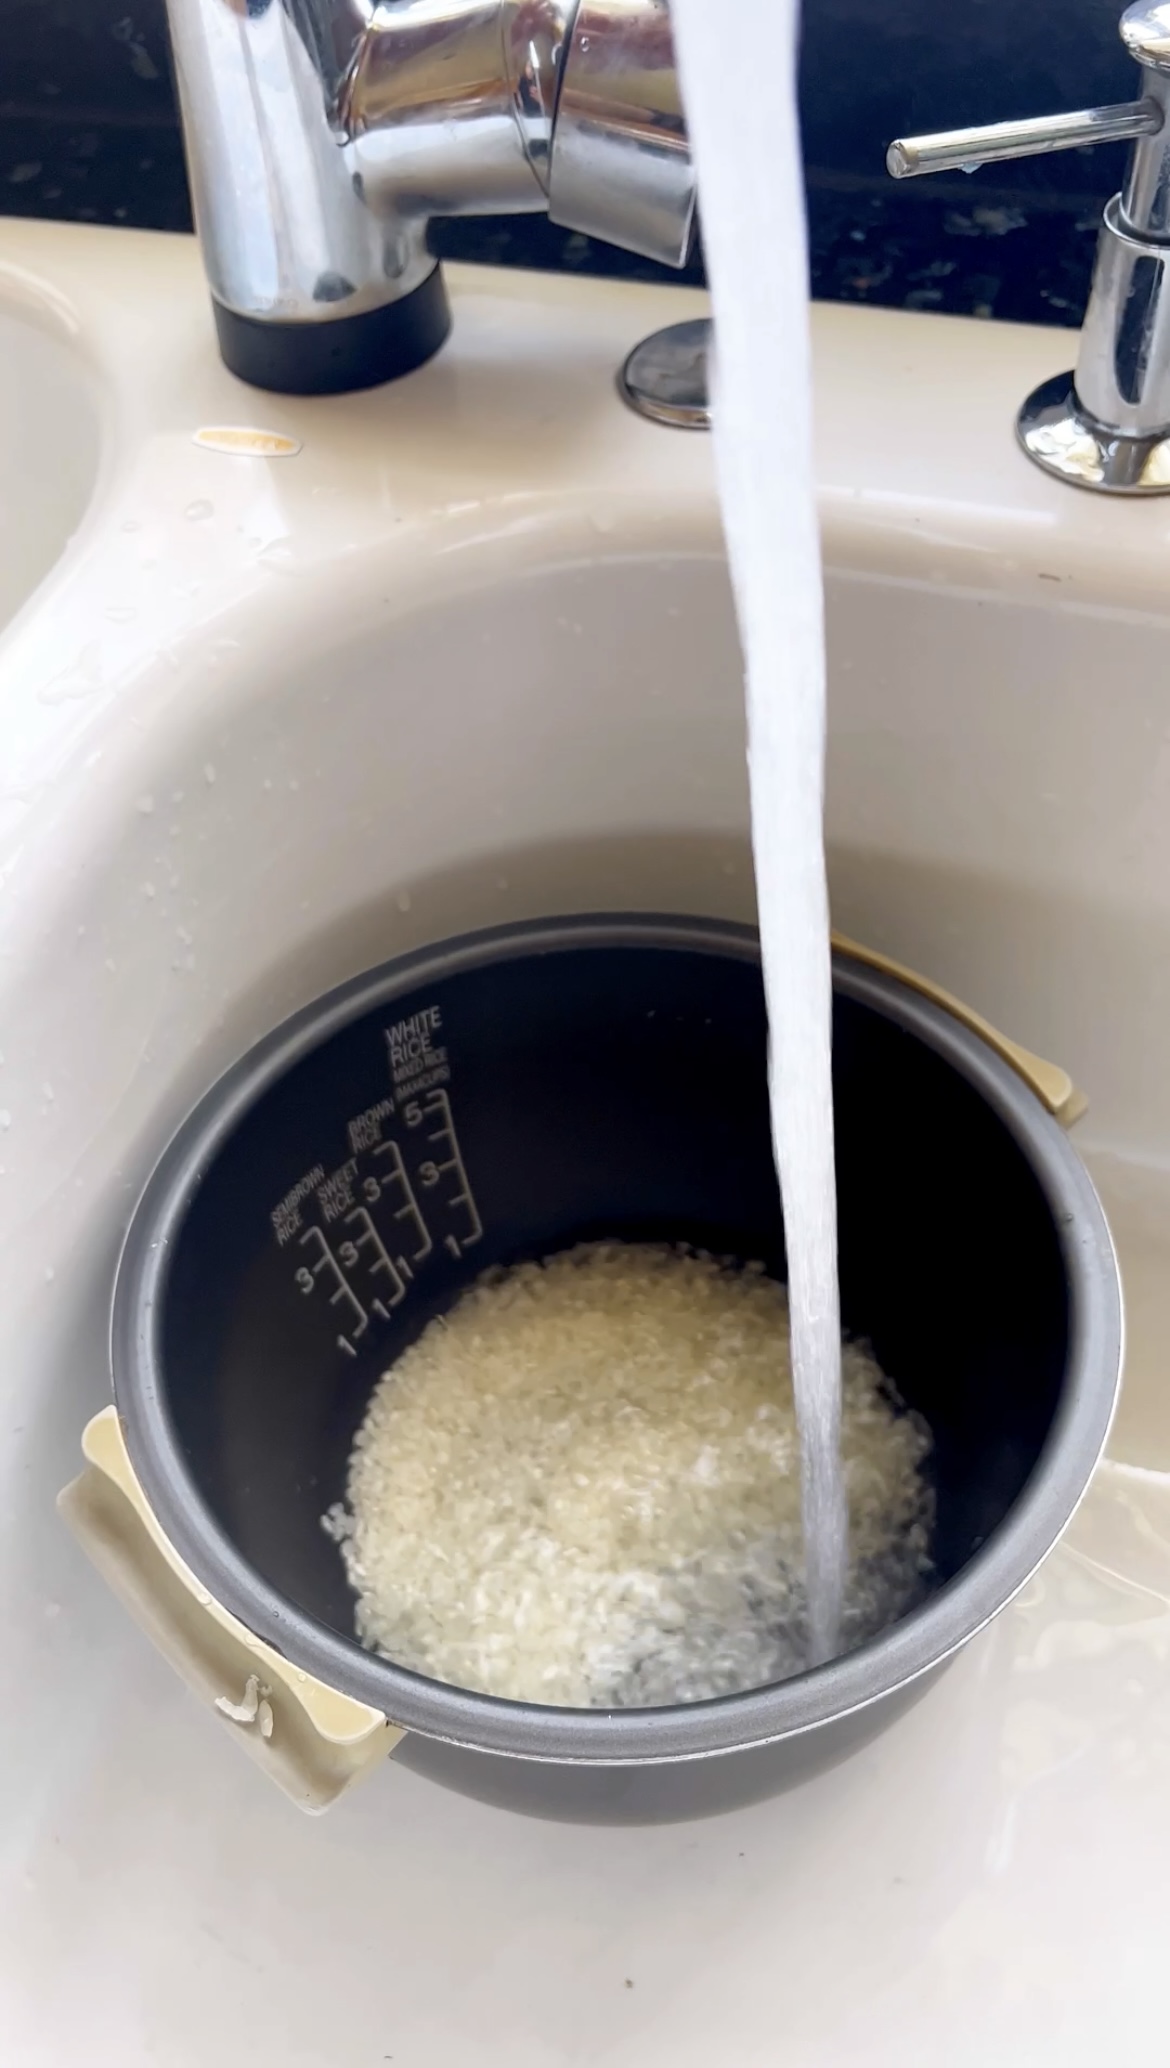
Start by prepping your sushi rice and letting it cool slightly. You want it seasoned but not hot, otherwise everything starts to melt together.
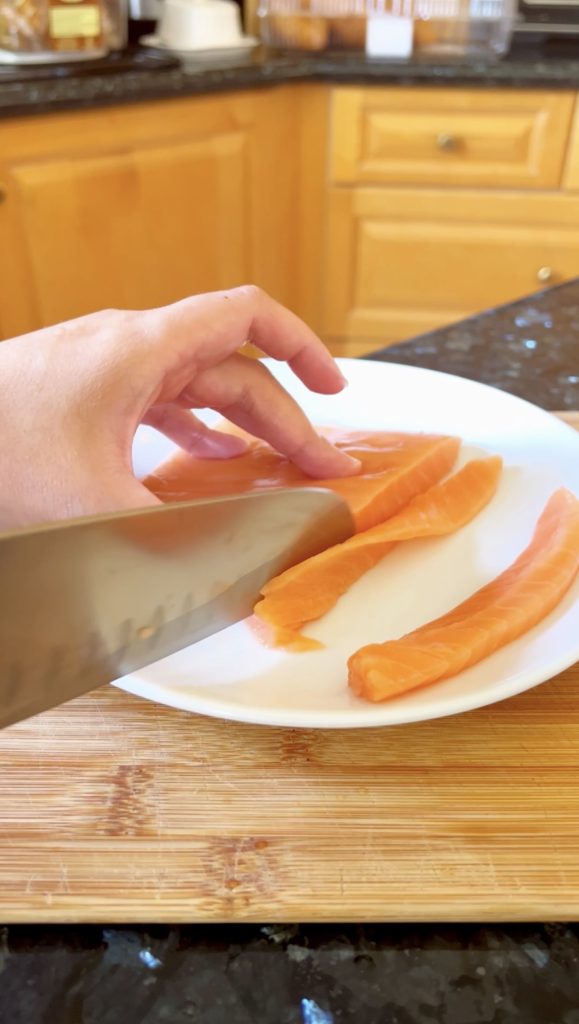
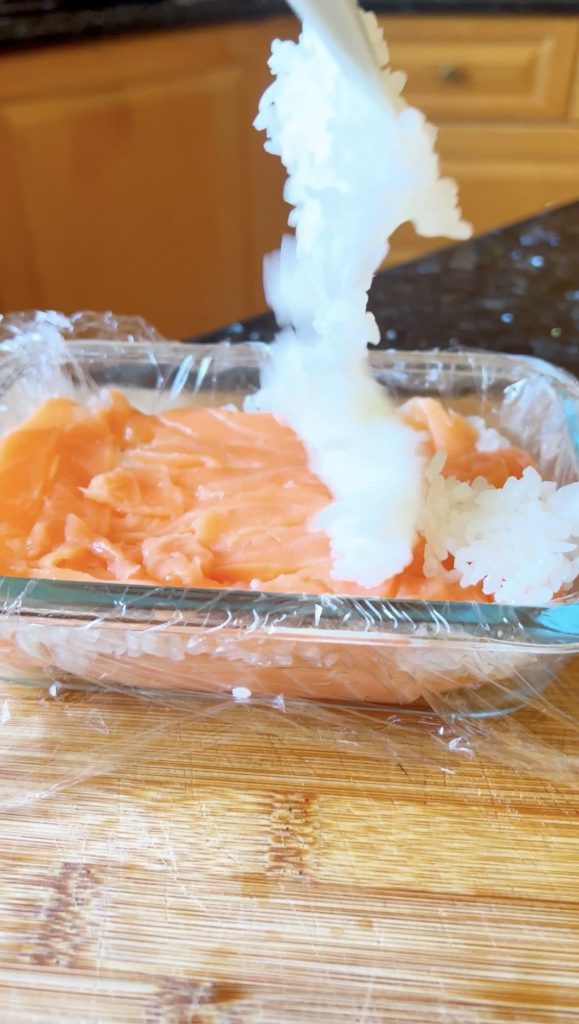
Line a glass container or loaf-style dish with plastic wrap, leaving enough overhang so you can lift everything out later. If you’re using a container instead of an oshi box, make sure you line the salmon along the short side of the container so it flips properly. I learned this the hard way.
Lay thin slices of salmon across the bottom of the container, slightly overlapping. Press a layer of sushi rice gently over the salmon. Add another thin layer of salmon in the middle, just like JOEY does, then finish with another layer of rice. Press everything down firmly but gently so it holds together.
Flip the container over onto a cutting board and carefully lift it out using the plastic wrap. Don’t stress if it’s not perfect. You can clean it up once it’s cut.
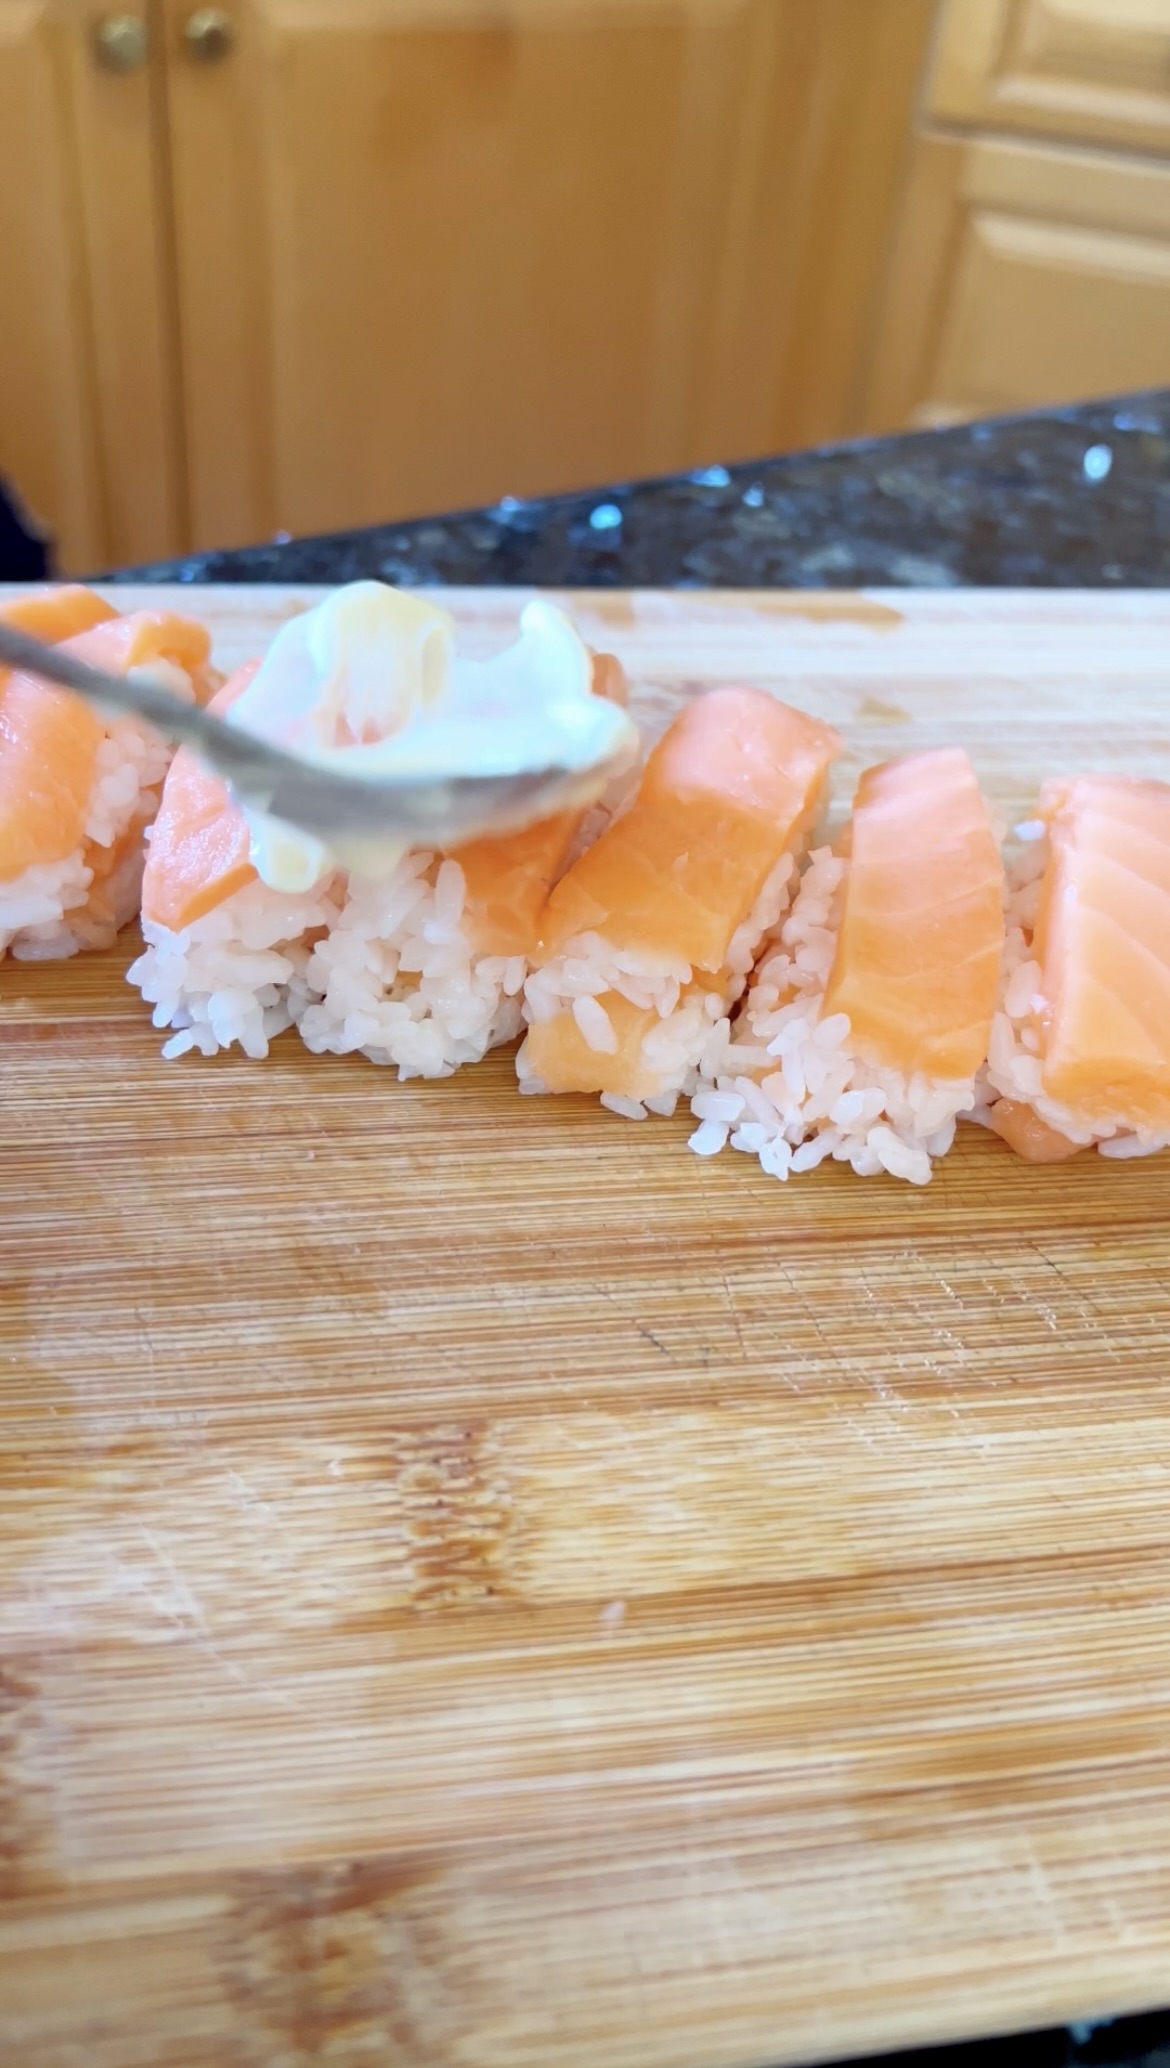
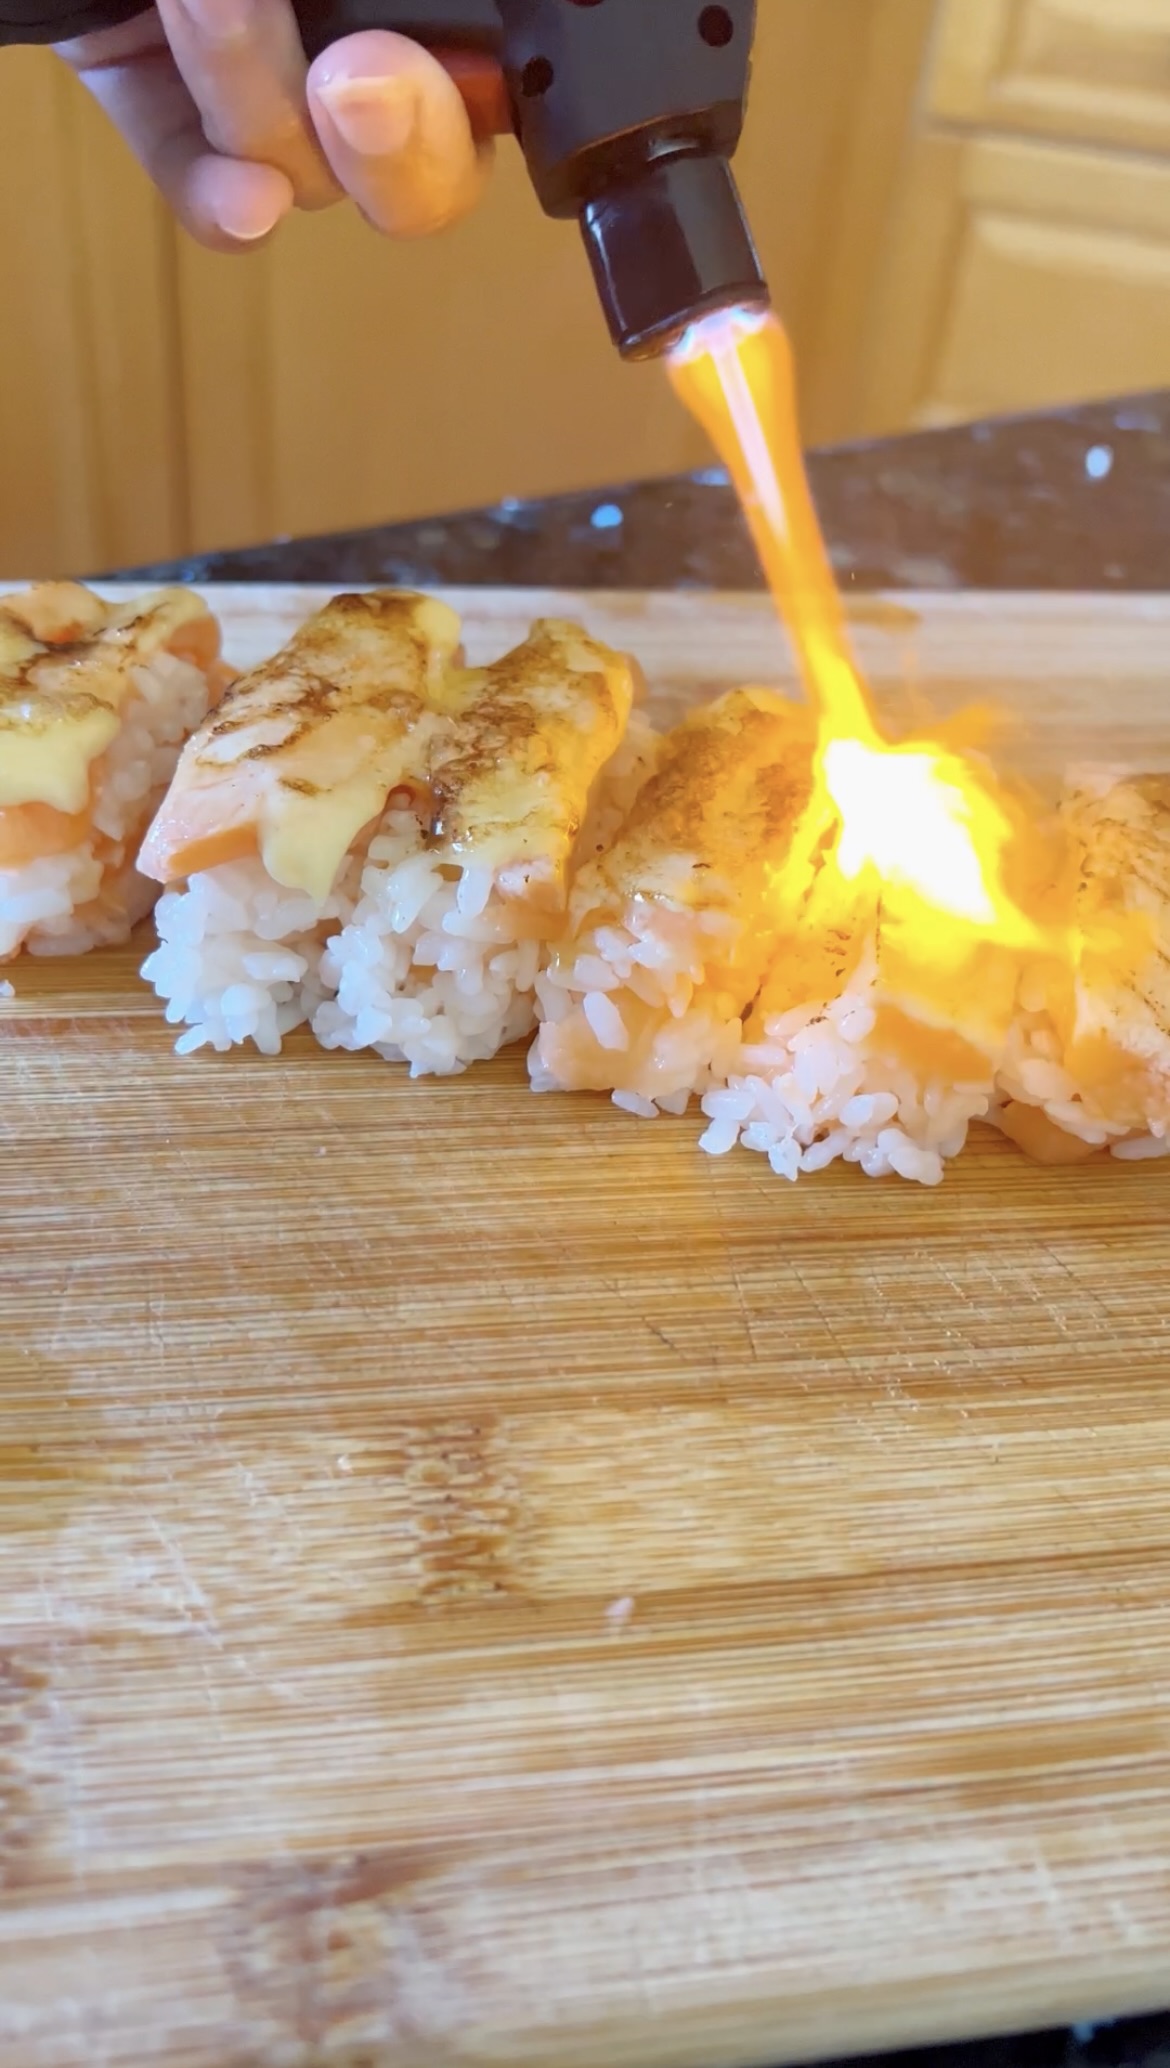
Mix together the umami mayo and spoon it over the top of the pressed sushi. Add thinly shaved serrano peppers, then torch the salmon until lightly charred and just cooked on the surface.
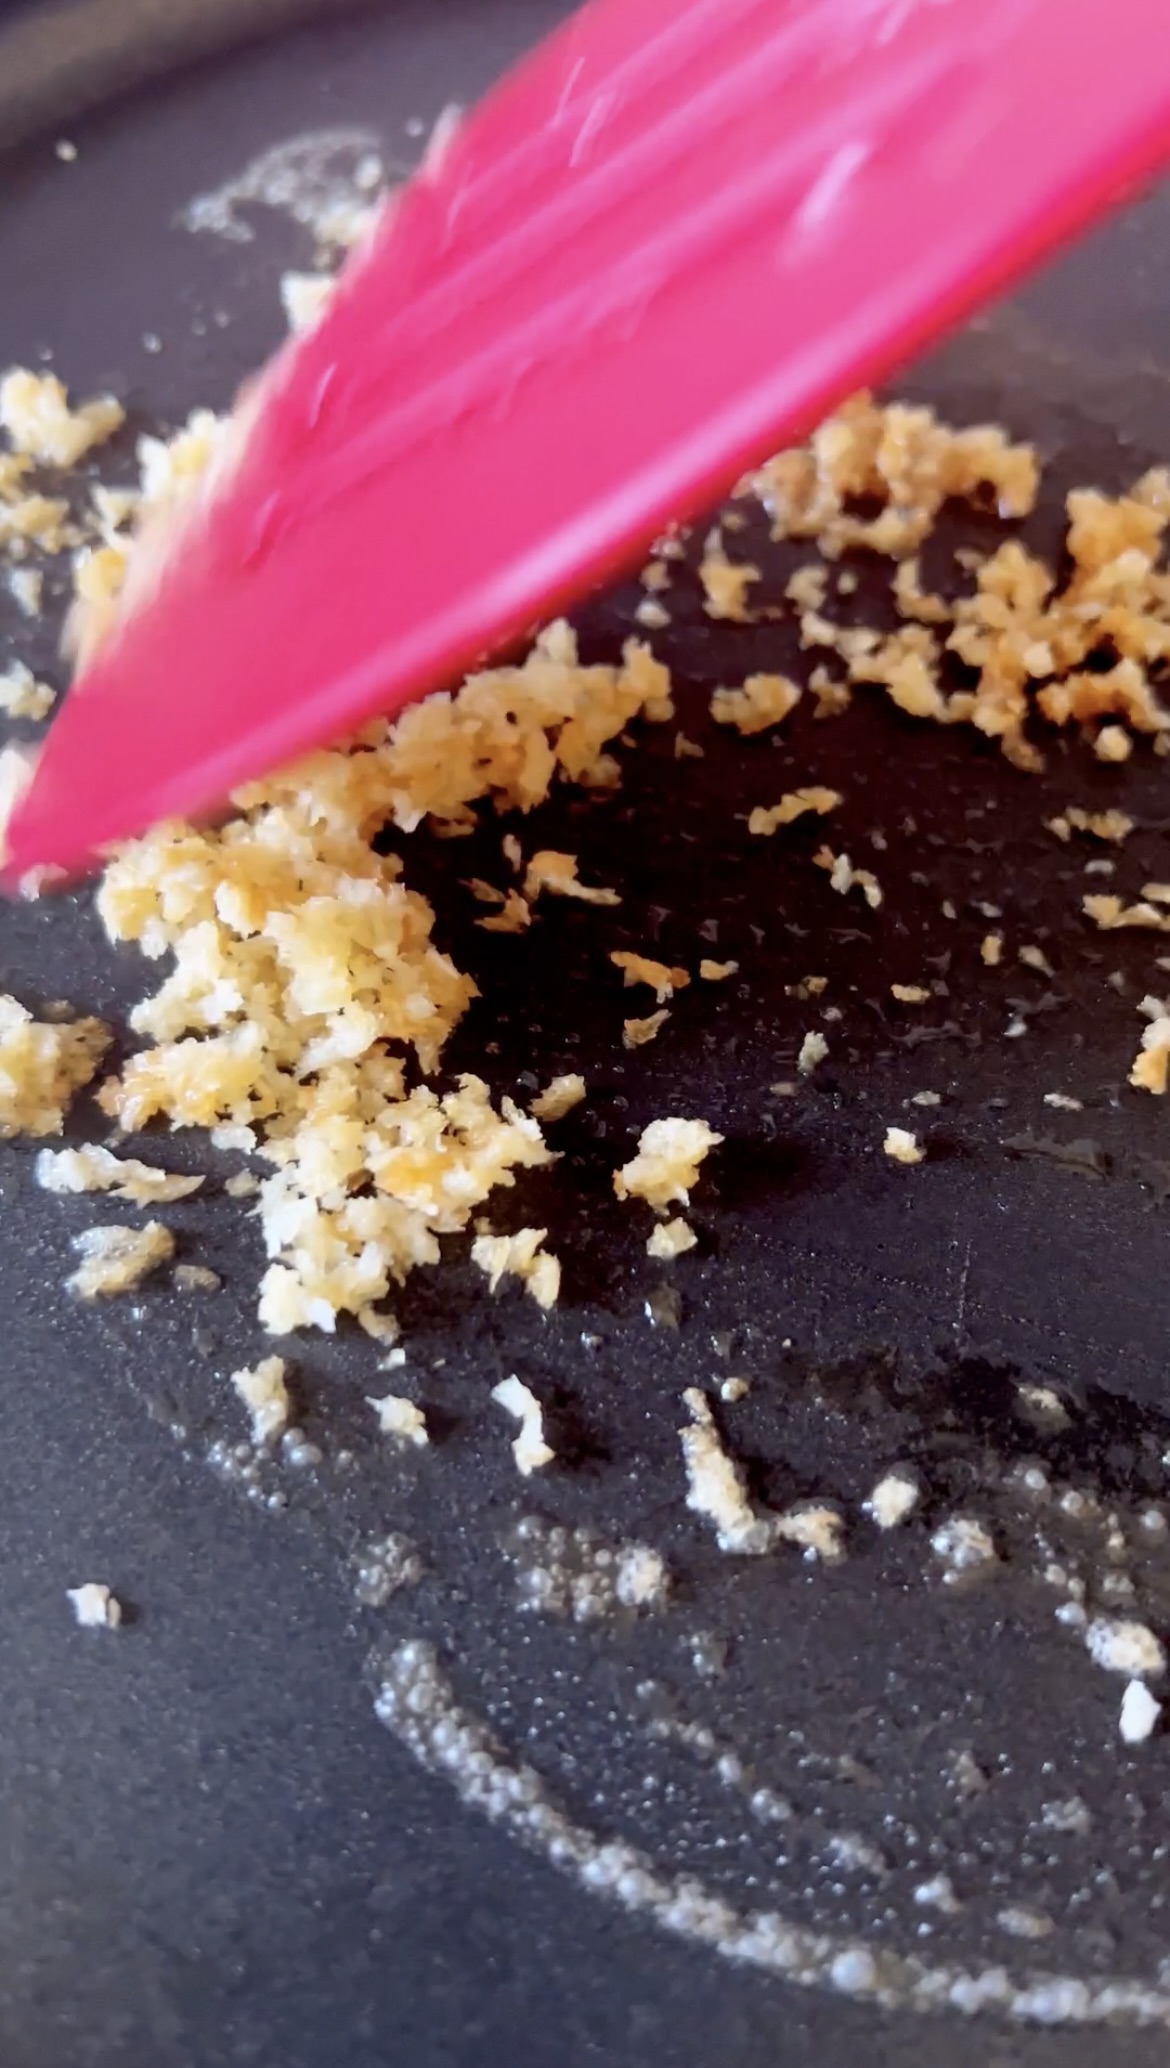
Finish with tempura bits, sesame seeds, and bonito flakes. Slice into rectangles and serve right away.
Joey Restaurant’s Seared Salmon Sushi Recipe Tips
Here are a few tips for making this dish:
This recipe looks simple, but the details matter. Take your time with the sauces.
If you don’t have a sushi press, a glass container works perfectly fine. Just line it well and press evenly.
Make sure the salmon is sushi-grade and very cold. It’s easier to slice cleanly.
Don’t over-torch. You want colour and flavour, not fully cooked salmon.
If things get messy, that’s okay. This is one of those “trust the process” recipes.
-
- Screenshot

-

- Screenshot
-

- Screenshot
Questions and Answers about the Joey Restaurant’s Seared Salmon Sushi
Do I need a sushi press to make this?
No. An oshi box helps, but a glass container lined with plastic wrap works just fine.
Is there really salmon in the middle?
Yes. That’s one of the details that makes this dish feel special. Salmon on the bottom, in the middle, and on top.
Can I make this ahead of time?
You can prep the rice and sauces ahead, but this is best assembled and torched right before serving.
Is this an exact recreation?
Not exactly. This one’s a bit chaotic and not my cleanest recreation, but flavour-wise, it absolutely hits.
Final Thoughts
This one was a little more chaotic than usual, but honestly, that’s part of the fun. It’s detailed, it’s layered, and it doesn’t have to be perfect to be really good. If you’re looking to challenge yourself with a restaurant-style sushi recipe at home, this is a great place to start.
Follow for more recreations, and let me know what I should tackle next. Let’s eat.

Joey Restaurant’s Seared Salmon Recipe
Ingredients (Makes 4 pressed pieces, about 2 servings)
Sushi Rice
1½ cups cooked sushi rice
2 tablespoons rice vinegar
1 teaspoon sugar
½ teaspoon salt
Salmon
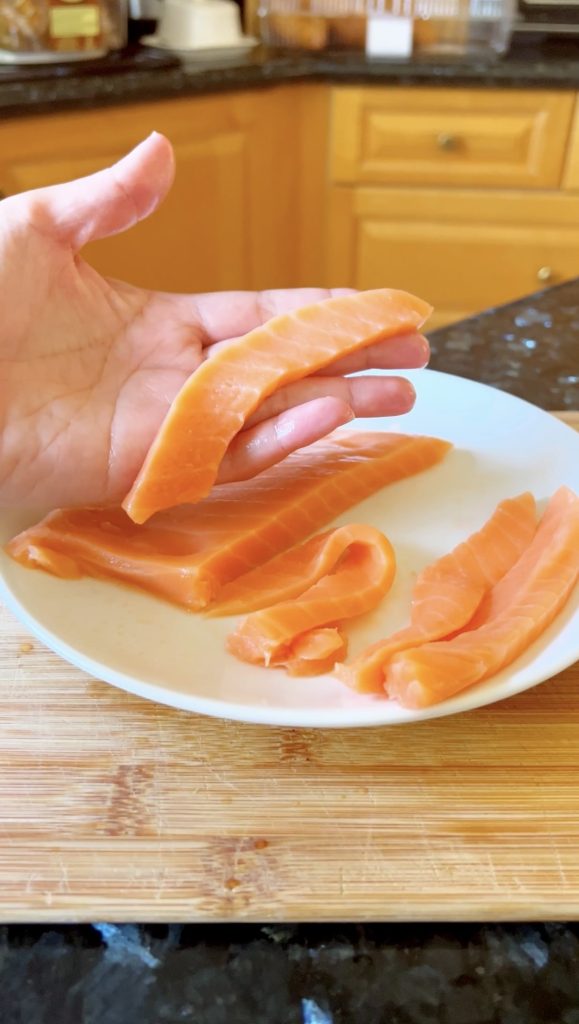
10–12 ounces sushi-grade salmon, very cold
Thinly sliced for the bottom layer
Finely chopped or thin slices for the middle
Clean slices reserved for the top
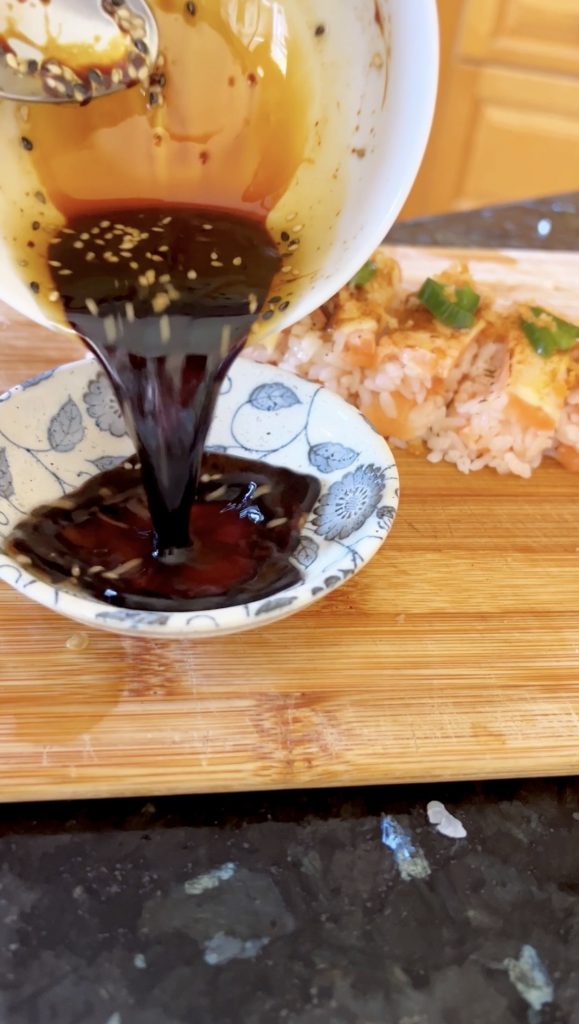
Sweet Soy Reduction
½ cup sweet soy sauce
or regular soy sauce plus 1½ tablespoons honey or sugar
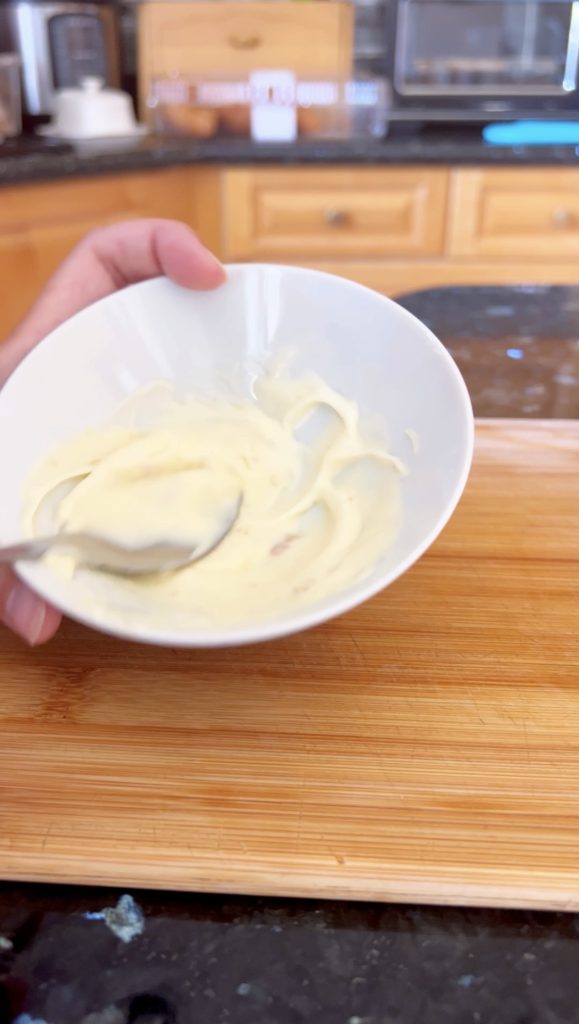
Umami Mayo (JOEY-style)
½ cup mayonnaise
2 tablespoons sweet soy reduction
1 tablespoon plus 1 teaspoon finely chopped garlic
½ teaspoon white miso
½ teaspoon rice vinegar
¼ teaspoon sesame oil
½ teaspoon grated ginger
Toppings
1 serrano pepper, very thinly shaved
2 tablespoons tempura bits
1 tablespoon bonito flakes
1 teaspoon black and white sesame seeds
Softened butter, for brushing
Instructions:
Add the sweet soy sauce to a small saucepan and bring to a gentle simmer. Let it reduce for 8 to 10 minutes until thick and glossy, just enough to coat the back of a spoon. Set aside to cool slightly.
In a bowl, whisk together the mayonnaise, sweet soy reduction, garlic, miso, rice vinegar, sesame oil, and grated ginger. The mayo should taste savoury, lightly sweet, and very umami-forward. Chill until ready to use.
While the sushi rice is still warm, gently fold in the rice vinegar, sugar, and salt. Cover with a damp towel and let cool to room temperature.
Line a loaf pan or small glass container with plastic wrap, leaving plenty of overhang. Lay thin slices of salmon across the bottom, slightly overlapping, making sure they run along the short side of the container.
Add a layer of sushi rice and gently press it down. Add a thin layer of salmon in the middle, followed by another layer of rice. Press firmly but evenly so the sushi holds together.
Cover and refrigerate for 20 to 30 minutes to help the layers set.
Lift the sushi out using the plastic wrap and flip onto a cutting board. Brush the top lightly with softened butter, then torch the salmon just until lightly charred on the surface.
Spoon or pipe the umami mayo over the top. Finish with shaved serrano peppers, tempura bits, sesame seeds, and bonito flakes.
Slice into rectangles using a sharp knife and serve immediately while the salmon is warm on top and the rice stays cool underneath.